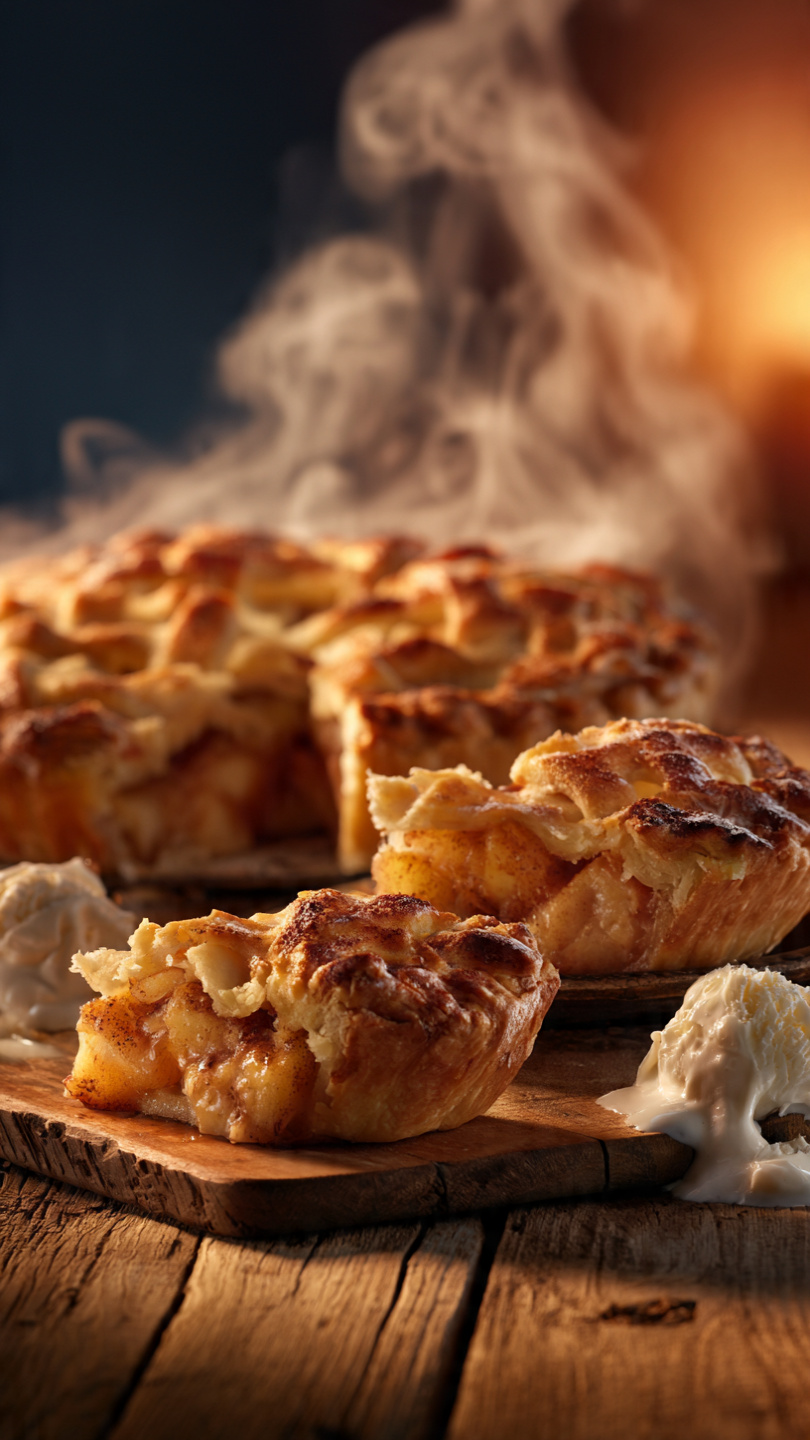
Classic Homemade Apple Pie with Flaky Butter Crust
This classic homemade apple pie features a golden, flaky butter crust filled with warmly spiced, tender apples. The ultimate comfort dessert that tastes like it came straight from grandma's kitchen.

The Apple Pie That Tastes Like Home
There is something almost magical about a homemade apple pie cooling on the counter. The smell alone, that warm wave of cinnamon, butter, and caramelized fruit, has the power to stop people mid-conversation. This recipe is the version I come back to every single fall, refined over years of tweaking the spice blend, testing apple combinations, and obsessing over what makes a pie crust genuinely flaky rather than just sturdy.
This is not a quick-shortcut pie. It is a showstopper pie, the kind you bring to Thanksgiving and watch disappear in minutes. But I promise the process is approachable, and every step has a clear reason behind it.
Why This Recipe Works
Most apple pie problems come down to two things: a soggy crust and a watery filling. Here is how this recipe tackles both:
- Cold butter, handled minimally. Those little pockets of cold butter create steam in the oven, which is exactly what produces flaky, layered crust. Never rush the dough.
- Two apple varieties. Granny Smith apples keep their structure while Honeycrisp adds natural sweetness and a slight tenderness. The contrast is everything.
- Cornstarch over flour. Cornstarch thickens the filling to a glossy, jammy consistency without making it cloudy or starchy-tasting.
- A two-temperature bake. Starting hot sets the crust quickly, then dropping the heat ensures the apples cook through without burning the top.
Chef's Tip: Let your sliced apples macerate in the sugar and spice mixture for 15 minutes before filling the pie. The liquid they release gets mixed back in, concentrating the flavor and reducing sogginess dramatically.
The Right Tools Make a Real Difference
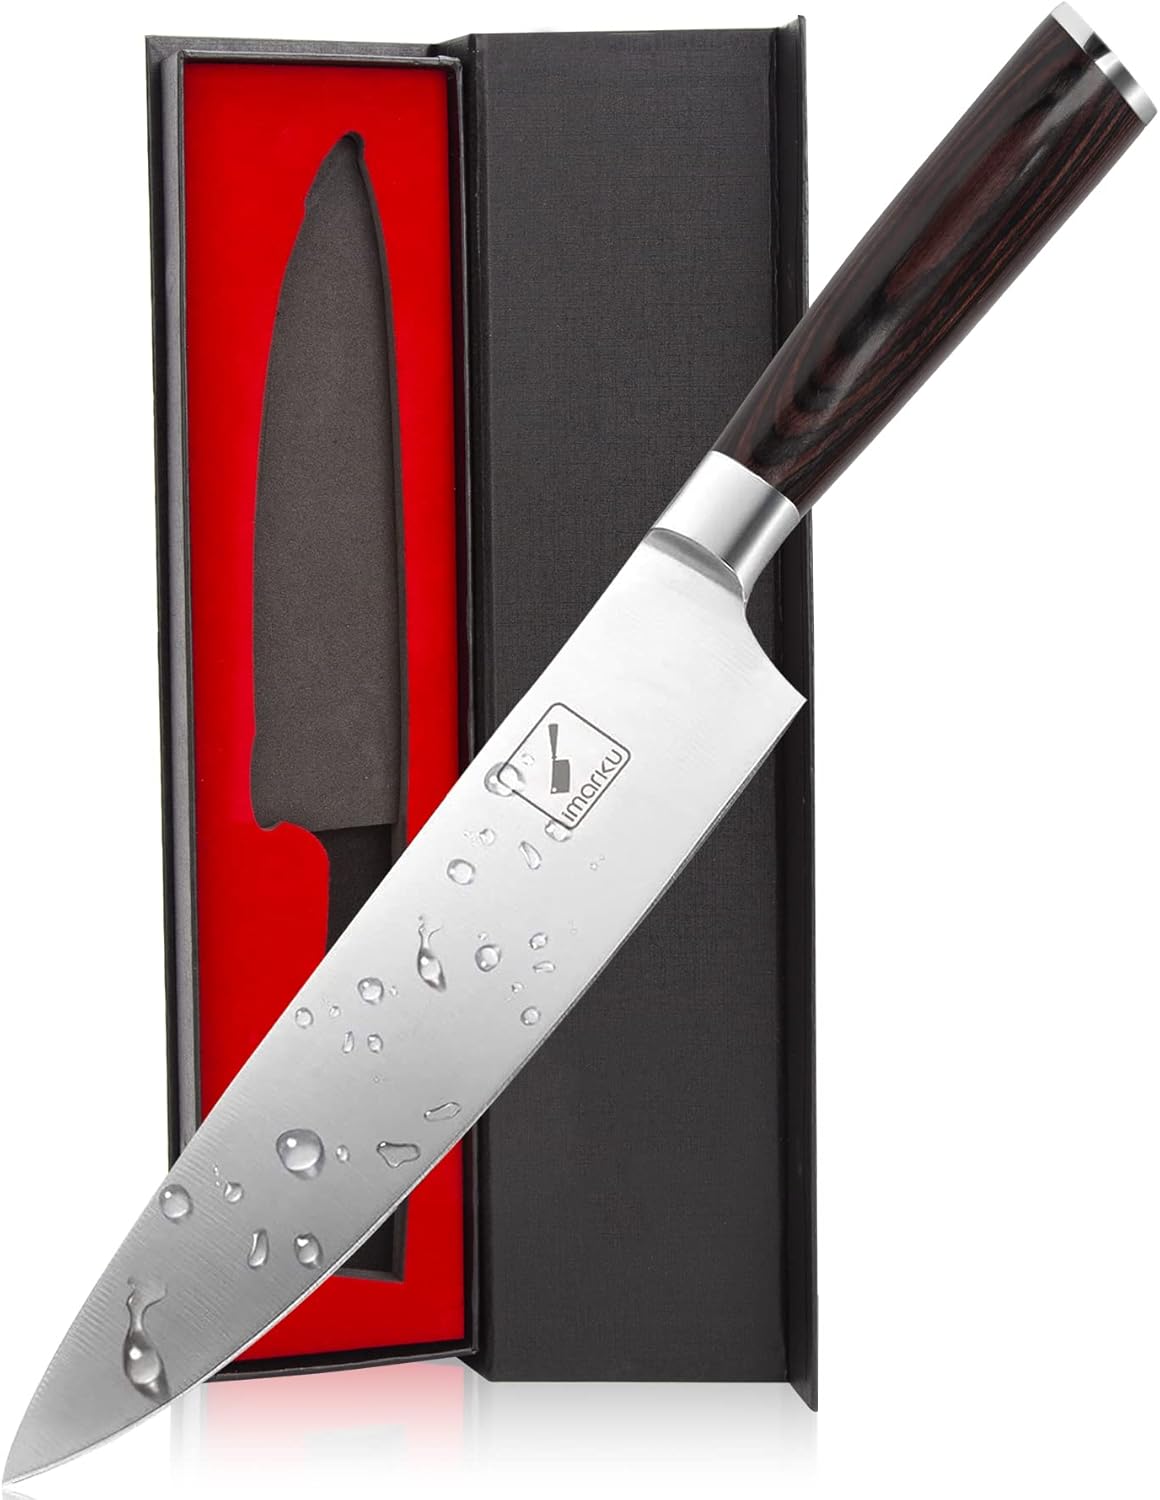
A good pie dish conducts heat evenly and gives you that beautifully browned bottom crust, which is the first thing that separates a homemade pie from a mediocre one. A quality pastry cutter and a solid rolling pin also take a lot of the frustration out of working with the dough. These are the tools and ingredients I genuinely rely on for this recipe:
Tools & Ingredients We Recommend


Building the Perfect Butter Crust
The crust is the part that intimidates most home bakers, but the secret is simple: keep it cold and keep it quick. Work the butter into the flour just until you see pea-sized chunks. Those chunks are not a mistake. They are the whole point.
Use ice water, not cold tap water. Add it gradually, one tablespoon at a time, stopping the moment the dough holds together when pressed. Overworking the dough develops gluten and turns a flaky crust into a tough one.
Once the dough is made, refrigerate it for at least an hour. This rest relaxes the gluten and re-chills the butter, making the dough far easier to roll and far flakier after baking.
Spicing the Filling Just Right
The spice blend here is intentionally layered. Cinnamon carries most of the warmth. Nutmeg adds a slightly floral, almost earthy depth. And a tiny pinch of allspice ties everything together with a subtle complexity that makes people ask, "What is in this?"
Lemon juice and zest are non-negotiable. They brighten the filling and prevent the apples from tasting flat or one-dimensional against all that sweetness.
Chef's Tip: Freshly grated nutmeg is noticeably more aromatic than pre-ground. If you have a whole nutmeg on hand, a few passes on a microplane make a real difference.
Ready to bake? Here is the complete recipe with all the details you need:
Classic Homemade Apple Pie with Flaky Butter Crust
This classic homemade apple pie features a golden, flaky butter crust filled with warmly spiced, tender apples. The ultimate comfort dessert that tastes like it came straight from grandma's kitchen.
Ingredients
- 2 1/2 cups all-purpose flour, plus more for dusting
- 1 cup unsalted butter, cold, cut into small cubes
- 6 tbsp ice water, add one tablespoon at a time
- 1/2 cup granulated sugar
- 1/4 cup brown sugar, packed
- 3 Granny Smith apples, peeled, cored, and thinly sliced
- 3 Honeycrisp apples, peeled, cored, and thinly sliced
- 1 1/2 tsp ground cinnamon
- 1/4 tsp ground nutmeg, freshly grated if possible
- 1/8 tsp ground allspice
- 3 tbsp cornstarch
- 1 tbsp lemon juice, freshly squeezed
- 1 tsp lemon zest
- 3/4 tsp salt, divided between crust and filling
- 1 large egg, beaten, for egg wash
- 1 tbsp coarse sugar, for sprinkling on top crust
- 2 tbsp unsalted butter, cut into small pieces, for dotting over filling
Instruction
Make the crust: In a large bowl, whisk together 2.5 cups flour and 0.5 tsp salt. Add the cold cubed butter and use a pastry cutter or your fingertips to work it in until the mixture resembles coarse crumbs with some pea-sized butter chunks remaining.
Drizzle in ice water one tablespoon at a time, gently tossing with a fork after each addition, until the dough just holds together when pressed. Divide the dough in half, shape each half into a flat disk, wrap in plastic wrap, and refrigerate for at least 1 hour or up to 2 days.
Make the filling: In a large bowl, toss together the sliced apples, granulated sugar, brown sugar, cinnamon, nutmeg, allspice, cornstarch, lemon juice, lemon zest, and 0.25 tsp salt. Let the mixture sit for 15 minutes to allow the apples to release their juices.
Preheat your oven to 425 degrees F (220 degrees C). Place a foil-lined baking sheet on the lower rack to catch any drips.
On a lightly floured surface, roll out one disk of dough into a 12-inch circle. Carefully transfer it to a 9-inch pie dish, letting the excess hang over the edges. Refrigerate while you roll out the second disk.
Pour the apple filling into the prepared crust, mounding it slightly in the center. Dot the top of the filling with the small pieces of butter.
Roll the second dough disk into a 12-inch circle. Drape it over the filling. Trim both crusts to a 1-inch overhang, then fold the edges together and crimp to seal. Cut 5 to 6 steam vents in the top crust.
Brush the top crust evenly with the beaten egg wash and sprinkle with coarse sugar.
Bake at 425 degrees F for 20 minutes. Without opening the oven, reduce the temperature to 375 degrees F (190 degrees C) and continue baking for 35 more minutes, until the crust is deep golden brown and the filling is bubbling through the vents.
Transfer the pie to a wire rack and let it cool for at least 2 hours before slicing. This resting time is essential for the filling to set properly.
Equipment
- 9-inch pie dish
- Large mixing bowl
- Pastry cutter
- Rolling pin
- Plastic wrap
- Pastry brush
- Wire cooling rack
- Baking sheet lined with foil
- Sharp knife or apple peeler
Notes
Serving, Storing, and Making It Your Own
Serve this pie slightly warm with a generous scoop of vanilla ice cream or a dollop of lightly sweetened whipped cream. The contrast of warm, spiced filling against cold cream is one of life's genuinely great pleasures.
Variations worth trying:
- Add 0.5 cup of sharp cheddar to the crust dough for a classic New England twist.
- Stir in a handful of dried cranberries with the apple filling for a tart, festive variation.
- Swap the top crust for a crumble topping made with oats, brown sugar, and butter if you want something faster and more casual.
Leftovers keep at room temperature for 2 days or in the refrigerator for up to 5 days. Always reheat in the oven rather than the microwave to keep that crust crisp and worthy of every single slice.