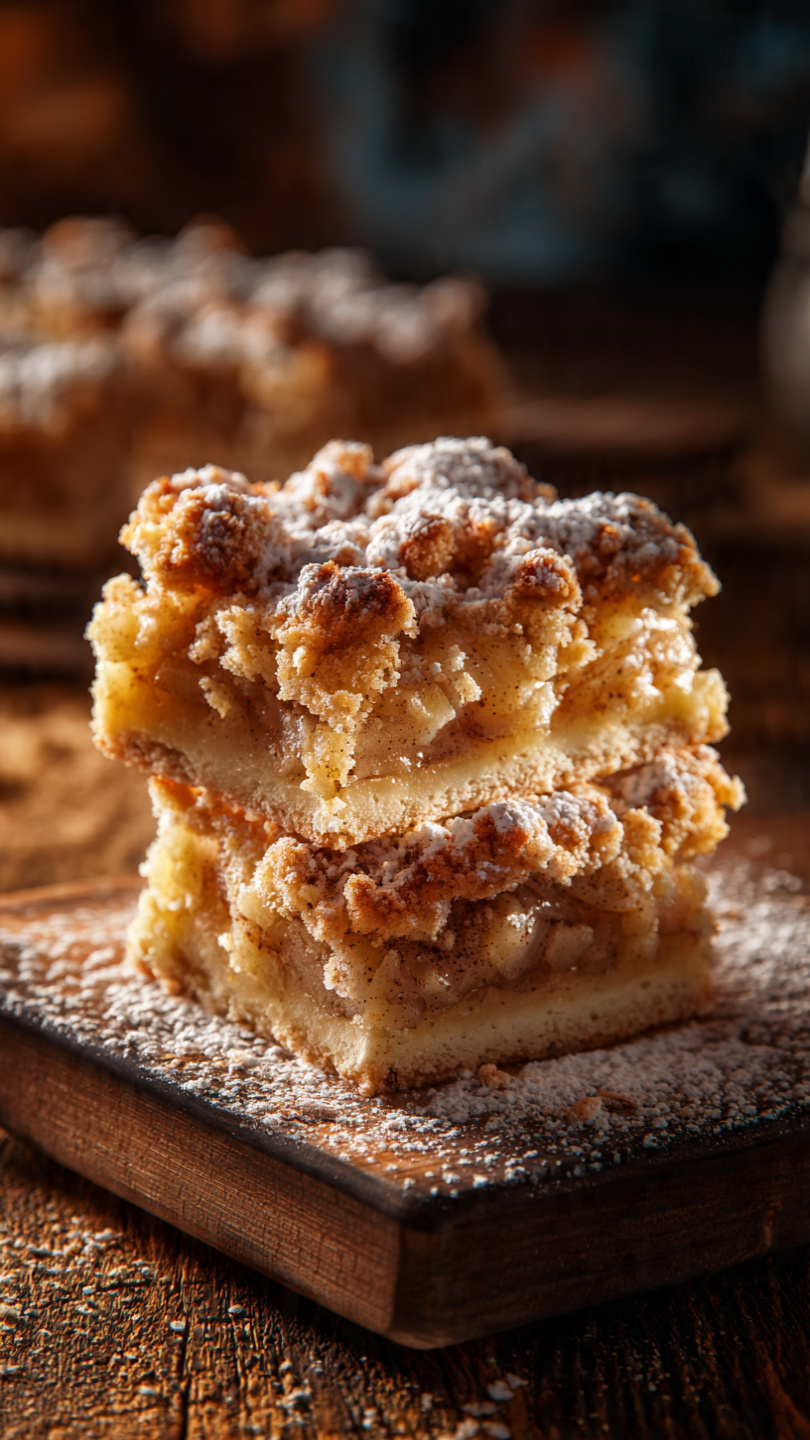
Apple Pie Bars
These Apple Pie Bars deliver all the cozy, cinnamon-spiced flavor of a classic apple pie in an easy-to-slice, handheld bar. Perfect for fall gatherings, bake sales, or a weeknight dessert the whole family will love.

The Apple Pie Bars That Took Over My Kitchen (In the Best Way)
If you love everything about apple pie but have ever wrestled with a soggy bottom crust or a filling that pours out the moment you cut the first slice, these Apple Pie Bars are about to become your new fall obsession. All the warmth, the cinnamon perfume, the buttery crust, and the tender spiced apples are here. Just in a format that is infinitely easier to share, transport, and eat standing over the kitchen counter at midnight.
These bars have a thick, crumbly shortbread crust on the bottom and scattered across the top like a streusel, sandwiching a generous layer of cinnamon-brown sugar apples in between. The result is somewhere between a classic pie, a fruit crumble, and a cookie bar. It is exactly as good as that sounds.
Why You Will Love This Recipe
There are a few things that set these bars apart from every other apple dessert in your repertoire.
- No rolling, no fussing. The crust is a simple press-in shortbread. You press two-thirds into the pan and crumble the rest over the top.
- Big, bold apple flavor. Five full apples go into the filling, tossed with both brown sugar and granulated sugar, warm spices, a squeeze of lemon, and a touch of cornstarch to thicken everything up beautifully.
- Crowd-friendly. One batch makes 16 bars, and they travel extremely well, making them ideal for potlucks, holiday cookie tins, and school bake sales.
- Optional glaze, maximum reward. A quick drizzle of powdered sugar glaze takes these from rustic to bakery-worthy in about 30 seconds.
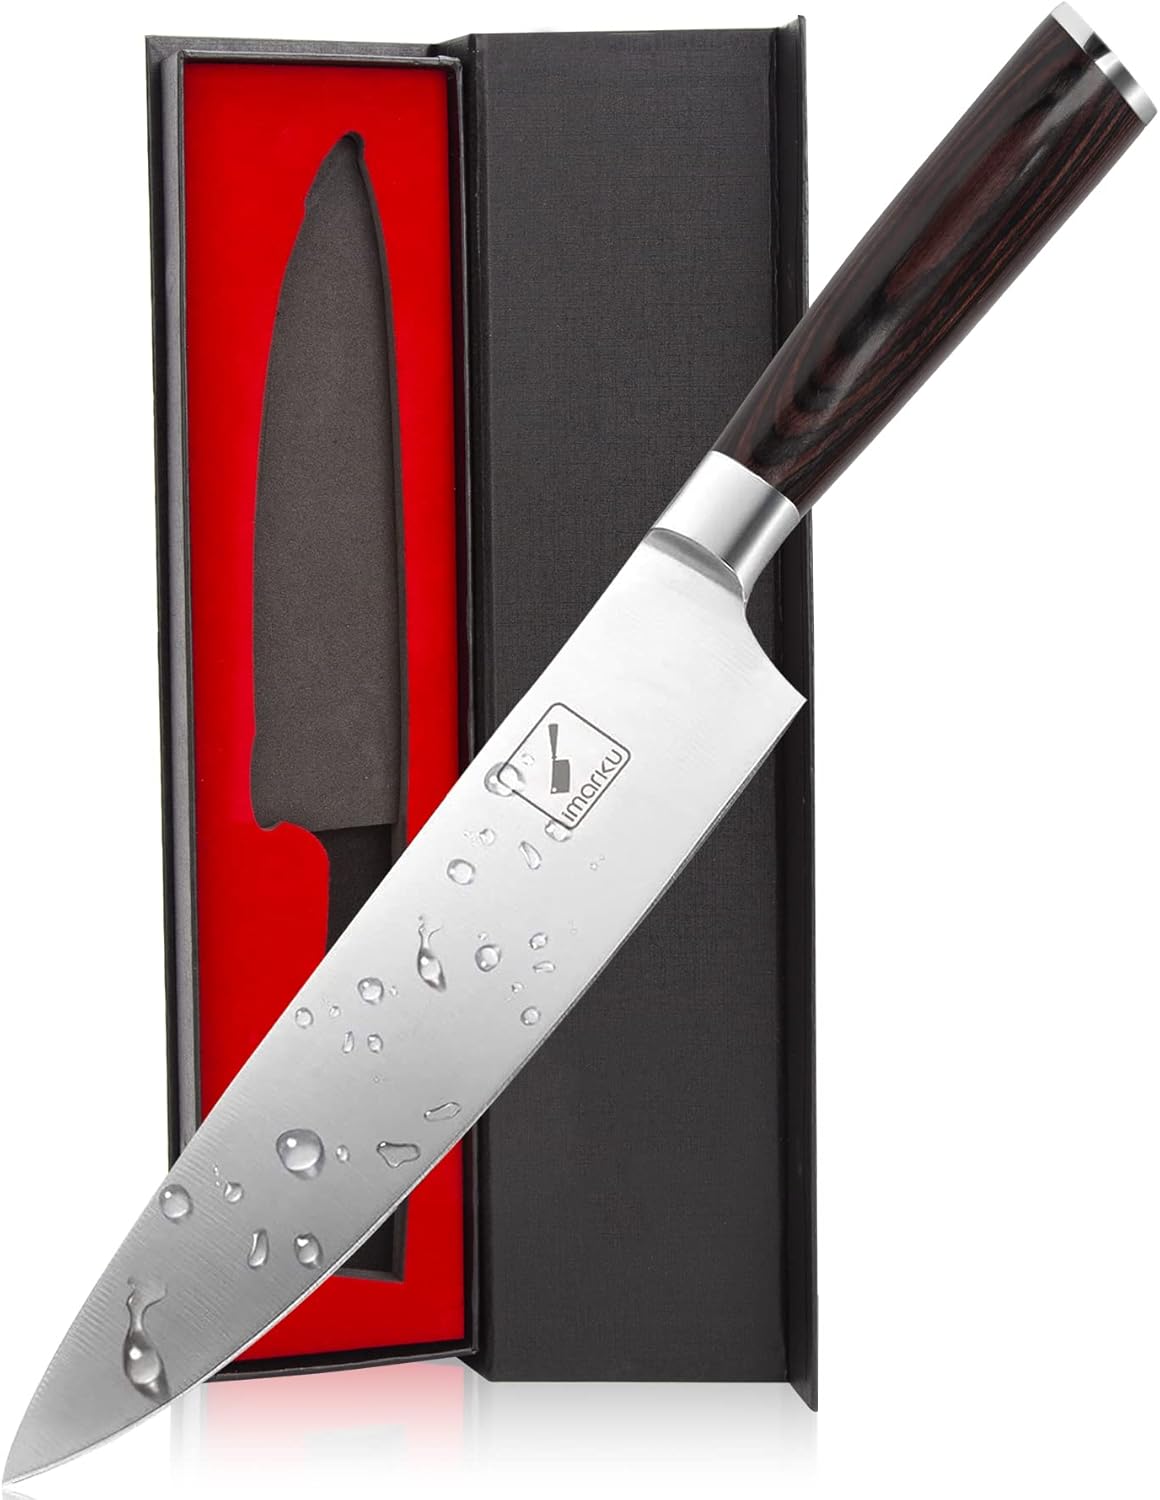
The quality of your butter and your apples genuinely makes a difference here. Cold, high-quality unsalted butter gives the shortbread its signature crumbly, tender texture, and firm baking apples like Granny Smith or Honeycrisp hold their shape instead of turning to mush. Having the right tools on hand, like a solid pastry cutter and a good apple peeler, makes the whole process faster and more enjoyable.
Tools & Ingredients We Recommend


Choosing the Right Apples
This is the single question I get asked most about this recipe, and it deserves a real answer.
Granny Smith is the gold standard for baked apple desserts. Their firm texture means they won't collapse in the oven, and their natural tartness provides the perfect contrast to all that brown sugar and cinnamon. Honeycrisp is a close second, bringing a slightly sweeter, almost floral note that makes these bars feel a little more refined.
Chef's Tip: Avoid softer apple varieties like McIntosh, Fuji, or Red Delicious. They release too much liquid and tend to turn mushy, which can make the filling soupy and prevent the bars from slicing cleanly.
For the most complex flavor, consider using a mix of two varieties. Half Granny Smith, half Honeycrisp is a combination that has never let me down.
The Secret to Clean Slices
The most important step in this entire recipe is one that requires zero cooking skill: letting the bars cool completely. I know it is hard. The smell coming out of your oven is going to be genuinely unreasonable. But cutting into warm bars means the filling is still loose and the crust has not fully set, which leads to crumbles and sliding apples rather than clean, gorgeous squares.
Give the pan at least two full hours at room temperature. If you can make these the night before, even better. The bars slice like a dream after a full overnight rest.
A small extra trick: run a sharp knife under hot water, wipe it dry, and use it to make each cut. It glides through the shortbread without dragging.
Ready to fill your kitchen with the best smell of the season? Here is everything you need:
Apple Pie Bars
These Apple Pie Bars deliver all the cozy, cinnamon-spiced flavor of a classic apple pie in an easy-to-slice, handheld bar. Perfect for fall gatherings, bake sales, or a weeknight dessert the whole family will love.
Ingredients
- 2 1/2 cups all-purpose flour, spooned and leveled
- 1/4 cup granulated sugar, for the crust
- 1/2 tsp salt
- 1 cup unsalted butter, cold and cubed
- 1 large egg, cold
- 5 apples, peeled, cored, and thinly sliced (Granny Smith or Honeycrisp recommended)
- 1/2 cup brown sugar, packed
- 1/4 cup granulated sugar, for the filling
- 1 1/2 tsp ground cinnamon
- 1/4 tsp ground nutmeg
- 2 tbsp cornstarch
- 1 tbsp lemon juice, freshly squeezed
- 1 tsp vanilla extract, pure
- 1/2 cup powdered sugar, for the glaze, optional
- 2 tbsp milk, for the glaze, optional
Instruction
Preheat your oven to 375 degrees F (190 degrees C). Grease a 9x13-inch baking pan and line it with parchment paper, leaving an overhang on the sides for easy lifting.
Make the shortbread crust: In a large bowl, whisk together the flour, granulated sugar (for the crust), and salt. Add the cold cubed butter and use a pastry cutter or your fingertips to work it in until the mixture resembles coarse crumbs with some pea-sized pieces remaining. Add the cold egg and mix until the dough just begins to come together.
Press roughly two-thirds of the crust mixture firmly and evenly into the bottom of the prepared pan. Reserve the remaining one-third for the topping. Refrigerate the pan while you prepare the filling.
Make the apple filling: In a large bowl, toss the sliced apples with the brown sugar, granulated sugar (for the filling), cinnamon, nutmeg, cornstarch, lemon juice, and vanilla extract until every slice is well coated.
Remove the pan from the refrigerator and arrange the apple filling in an even layer over the crust, distributing the juices from the bowl as well.
Crumble the reserved crust mixture over the top of the apple filling, covering it as evenly as possible.
Bake for 40 to 45 minutes, until the top is golden brown and the apple filling is bubbling around the edges. If the top browns too quickly, loosely tent with foil after 30 minutes.
Allow the bars to cool completely in the pan on a wire rack, at least 2 hours. This step is essential so the bars slice cleanly.
Optional glaze: Whisk together the powdered sugar and milk until smooth, then drizzle over the cooled bars.
Use the parchment overhang to lift the bars out of the pan, cut into 16 squares, and serve.
Equipment
- 9x13-inch baking pan
- Parchment paper
- Large mixing bowl
- Pastry cutter or food processor
- Apple peeler and corer
- Sharp knife and cutting board
- Wire cooling rack
- Whisk
Notes
Serving and Storing Your Apple Pie Bars
These bars are wonderful at room temperature, but a brief 8-minute warm-up in a 300 degree oven brings them back to just-baked glory. Serve them plain, dusted with a little powdered sugar, drizzled with the optional glaze, or alongside a scoop of vanilla ice cream for a dessert that will genuinely impress people.
For storage, an airtight container at room temperature keeps them fresh for 2 days. In the refrigerator, they last up to 5 days. And if you want to get ahead of a holiday, freeze the unglazed bars individually wrapped for up to 2 months. Thaw overnight in the fridge and re-warm before serving.
One batch, endless occasions. That is the real magic of Apple Pie Bars.